HTML5 Drag and Drop API
HTML5 Drag and Drop API
Using the HTML5 drag and drop API, we can grab any object and drop it to our preferred location.
Browsers Support for HTML5 Drag and Drop API
Below is the list of browsers and their latest versions that fully support HTML5 drag and drop API:
- Google Chrome 4.0
- Microsoft Edge 9.0
- Firefox 3.5
- Safari 6.0
- Opera 12.0
Code Example of HTML5 Drag and Drop API
Below is the simple example of a drag and drop feature.
<!DOCTYPE HTML>
<html>
<head>
    <title>HTML5 Drag and Drop API</title>
</head>
<style>
    #sample {
        width: 500px;
        height: 300px;
        padding: 30px;
        border: 1px solid #aaaaaa;
    }
</style>
<script>
    function allowDrop(e) {
        e.preventDefault();
    }
    function drag(e) {
        e.dataTransfer.setData("text", e.target.id);
    }
    function drop(e) {
        e.preventDefault();
        var id = e.dataTransfer.getData("text");
        e.target.appendChild(document.getElementById(id));
    }
</script>
</head>
<body>
    <p>Drag the Jacket into the rectangle image:</p>
    <div id="sample" ondrop="drop(event)" ondragover="allowDrop(event)"></div>
    <br>
    <img id="test" src="Jackets.jpg" draggable="true" ondragstart="drag(event)" width="400" height="230">
</body>
</html>
It is how the drag and drop element will appear in the browser
Before Dragging

After Dragging

The code above might sound a little bit confusing at first glance, but don’t we’ll explain every single step of this code in this tutorial.
Making an Image Draggable
To make an image element draggable, assign the value ‘true’ to the draggable attribute:
<img draggable=’true’>
Decide What to Drag Using onDragStart() and setData()
Then decide, what will happen when an element is dragged to our desired location. In the example above, we’ve used the ondragstart attribute to call a function drag(event) that defines which data must be dragged?
The dataTransfer.setData() specifies the data type and value of the dragged data.
function drag(e){
e.dataTransfer(“text”, e.target.id);
}
In the above example, we are using the ‘text’ data type. The value assigned to it is an id of the draggable element that, in our case, is “test.”
Decide Where to Drop Using the ondrageover Attribute
ondragover attribute specifies where the dragged item can be dropped. By default, browsers does not allow us to drag and drop elements.
To enable a drop, we must override the by default handling of an element by the browser. To get this done, we’ve called e.PreventDefault() method inside the drag() function.
Using the ondrop Attribute to Drop the Element
When the dragged element is dropped, a drop event is called automatically. In our example, we’ve called a function drop(event) in the ondrop attribute.
function drop(e){
e.preventDefault();
var id = e.dataTransfer.getData(“text”);
e.target.appendChild(document.getElementById(“id”));
}
Explanation of Code
- preventDefault() function stops the browser from the default handling of the data
- Retrieve the dragged data using the dataTransfer.getData() method. This method will return only that data assigned the same data type in the state() method.
- The dragged data must be an id of the dragged element, which in our case is “test.”
- Lastly, embed the dragged element into the drop element.
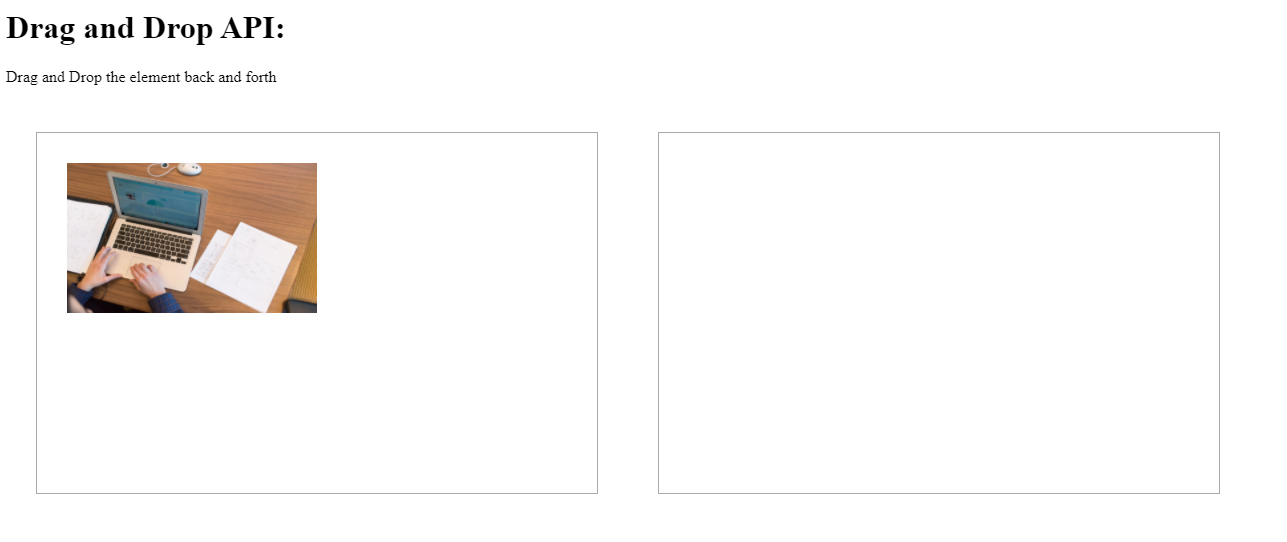
You can also drag and drop elements back and forth.
Example
<!DOCTYPE HTML>
<html>
<head>
    <title>HTML5 Drag and Drop APi</title>
</head>
<style>
    #sample1,
    #sample2 {
        float: left;
        width: 500px;
        height: 300px;
        padding: 30px;
        margin: 30px;
        border: 1px solid #aaaaaa;
    }
</style>
<script>
    function allowDrop(e) {
        e.preventDefault();
    }
    function drag(e) {
        e.dataTransfer.setData("text", e.target.id);
    }
    function drop(e) {
        e.preventDefault();
        var id = e.dataTransfer.getData("text");
        e.target.appendChild(document.getElementById(id));
    }
</script>
</head>
<body>
    <h1> HTML5 Drag and Drop API:</h1>
    <p>Drag and Drop the element back and forth</p>
    <div id="sample1" ondrop="drop(event)" ondragover="allowDrop(event)">
        <img id="test" src="Jackets.jpg" draggable="true" ondragstart="drag(event)" width="250" height="150">
    </div>
    <div id="sample2" ondrop="drop(event)" ondragover="allowDrop(event)"></div>
</body>
</html>
The output of this code will be

To learn more about this topic, read more.

