
HTML5 Images
HTML5 Images
HTML5 Images increase the visual appearance of our content and make it more eye-catching. Moreover, images are important from an SEO perspective as it increases viewers’ retention time on a website, leading to a higher Google ranking. In this tutorial, we’ll teach how to use HTML5 images in your content.
Example
<!DOCTYPE html>
<html>
<head>
    <title> HTML5 Images </title>
</head>
<body>
    <img src="web development.jpg" alt="Jackets">
</body>
</html>
The output of this code will be

Syntax for HTML5 Images
HTML <img> tag is used to insert an image into an HTML document. From a technical standpoint, images are not embedded into the web page but are referenced to a web page.
Therefore, an img element holds space for a referenced image.
The <img> is an empty tag as it is not followed by a closing tag and contains attributes only.
The <img> tag contains the following attributes
- src attribute to define the path of an image
- alt specifies an alternative text for an image that is another SEO metric.
<img src=”url” alt=”alternatetext”>
The src Attribute
Src attribute in the <img> tag defines the location of an image
When the webpage first loads, the browser extracts an image from a specified location and embeds it on a webpage. Therefore, be cautious while specifying a path for your HTML5 image; otherwise, your viewer will experience a broken link that will hurt your website ranking in the long run.
If your browser can’t display an appropriate image, your webpage visitor will see a broken link along with alt text.
Example
<!DOCTYPE html>
<html>
<head>
    <title> HTML5 Images </title>
</head>
<body>
    <img src="flowers_bouqet.jpg" alt="flowers_bouquet">
</body>
</html>
The output of this code will be

The alt Attribute
The alt attribute defines an alternative text for an image if users can’t use an image. It usually happens either because of slow internet connection, wrong file path in the src attribute, or the viewer has enabled screen reader.
The value assigned to an alt attribute defines an image.
<!DOCTYPE html>
<html>
<head>
    <title> HTML5 Images </title>
</head>
<body>
    <h2> Alternative text</h2>
    <p> The value of alt attribute provides a momentary glance of an image to the users
        so those users who are visually impaired can understand it </p>
    <img src="flowers_bouqet.jpg" alt="flowers_bouqet">
</body>
</html>
If the browser cannot find an image, it will display the value of the alt attribute.
Example
<!DOCTYPE html>
<html>
<head>
    <title> HTML5 Images </title>
</head>
<body>
    <p> If the browser could not find an image, it will display the value of an alt attribute</p>
    <img src="flowers_bouqet.jpg" alt="Flowers_bouquet">
</body>
</html>
The output of this code will be

Defining the Width and Height of HTMl5 Images
You can use the style attribute to define the width and height of HTML5 images.
Example
<!DOCTYPE html>
<html>
<head>
<title> HTML5 Images </title>
</head>
<body>
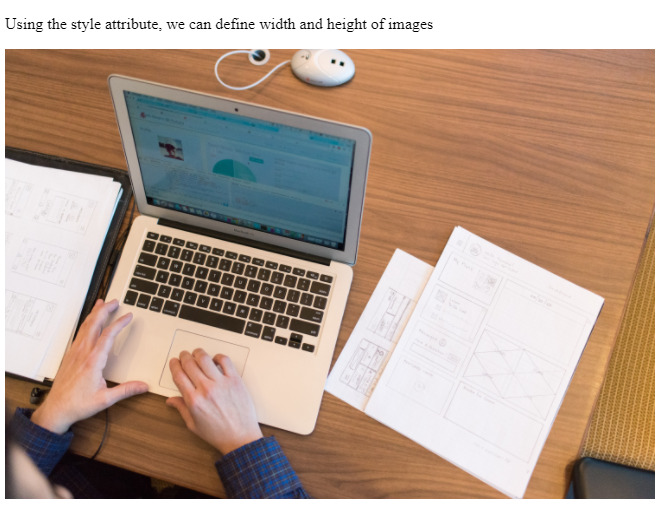
<p> Using the style attribute, we can define width and height of images </p>
<img src="web development.jpg" alt="web development" style="width:650px;height:450px;">
</body>
</html>
The output of this code will be
Alternatively, you can define the width and height of HTML5 images by assigning values to both of these attributes separately.
Example
<!DOCTYPE html>
<html>
<head>
<title> HTML5 Images </title>
</head>
<body>
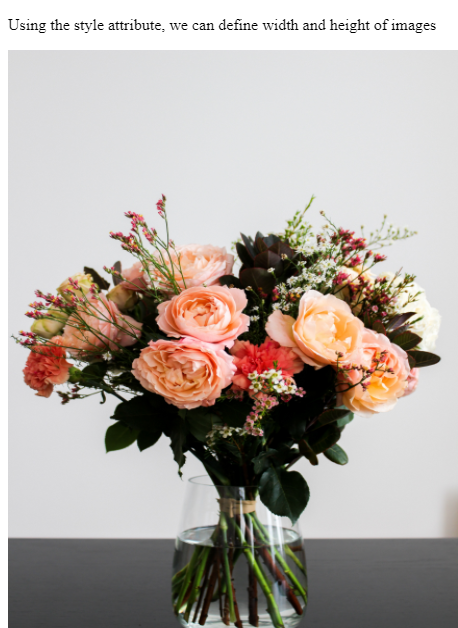
<p> Using the style attribute, we can define width and height of images </p>
<img src="Jackets.jpg" alt="Jackets" width="450" height="600">
</body>
</html>
The output of this code will be
The width and height attribute assigns width and height to an image in pixels.
Width, Height, or Style Which One Should You Use?
Even though width, height, and attribute are all valid HTML attributes, we suggest you limit yourself to style attributes because it prevents style sheets from altering the size of our image.
Example
<!DOCTYPE html>
<html>
<head>
<title> HTML5 Images </title>
<style>
/* this style assigns the value 100% to the width of all the images */
img {
width: 100%;
}
</style>
</head>
<body>
<h2> Width, Height, or Style which one should you use? </h2>
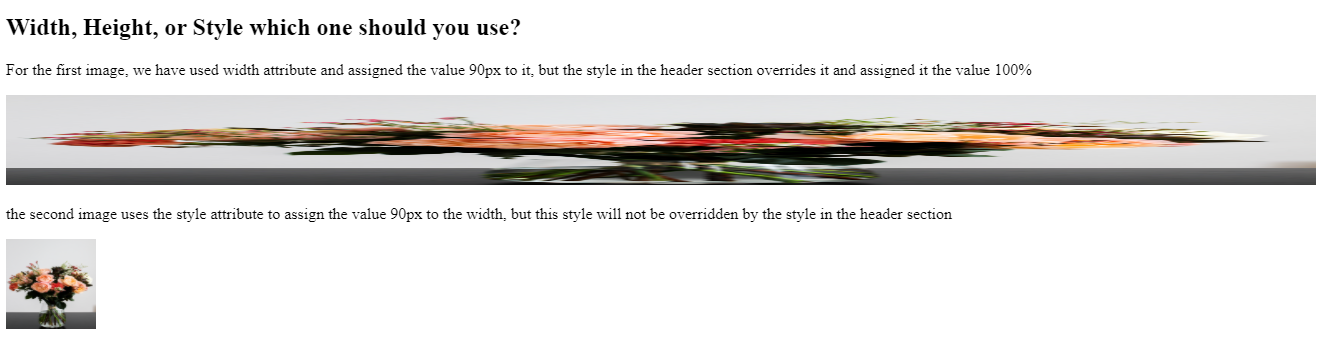
<p> For the first image, we have used width attribute and assigned the value 90px to it,
but the style in the header section overrides it and assigned it the value 100% </p>
<img src="flowers_bouqet.jpg" alt="Flowers in the bouqet" width="90" height="90">
<p> the second image uses the style attribute to assign the value 90px to the width,
but this style will not be overridden by the style in the header section
</p>
<img src="flowers_bouqet.jpg" alt="flowers in the bouqet" style="width:90px;height:90px">
</body>
</html>
The output of this code will be
Extracting HTML5 Images from another Server
Some websites extract images from another server. To refer to an image located on another server, specify the complete URL in the src attribute.
Example
<!DOCTYPE html>
<html>
<head>
    <title> HTML5 Images </title>
</head>
<body>
    <img src="https://www.dacast.com/static/662bd05eeca194e99db5c108819f8ce1/1e21a/HTML5-Video-Streaming.jpg"
        alt="HTML5 icon">
</body>
</html>
The output of this code will be

Using Images as a Link
To use HTML5 image as a link, enclose <img> tag inside the anchor tag.
Example
<!DOCTYPE html>
<html>
<head>
    <title> HTML5 Images </title>
</head>
<body>
    <a href="https://www.vishacademy.com">
        <img src="web development.jpg" alt="web development masterclass" style="width:190px; height:190px;">
    </a>
</body>
</html>
Floating Images
Use the CSS float property to float the image to the right or left of a text.
Example
<!DOCTYPE html>
<html>
<head>
    <title> HTML5 Images </title>
</head>
<body>
    <p>
        <img src="web development.jpg" alt="learn web development" style="float: right; width:280px; height:280px;">
        This image will be displayed to the right of the text
    </p>
    <p><img src="web development.jpg" alt="learn web development" style="float: left; width: 280px; height:280px;">
        This image will be displayed to the left of the text
    </p>
</body>
</html>
The output of this code will be

Extra Sources
https://developer.mozilla.org/en-US/docs/Web/HTML/Element/picture