
HTML5 Forms
HTML5 Forms
In this tutorial, we’ll teach you the basics of HTML5 Forms. From the technical standpoint, forms are used to gather user input handled by the server-side scripting language like PHP, Java, or ASP.net.
HTML5 <form> Tag
The <form> element is used to display HTML5 forms to the users. Below is the syntax for defining a form in an HTML5 document.
Syntax
<form>
…..
……….
………………….
……………………………………………………
…………………………………………………………………….
</form>
The space between the opening and closing <form> tag is covered with different form elements. In this tutorial, we’ll teach you all the <form> elements used in HTML5 Forms.
Form <input> Element
The <input> element is the most commonly used in HTML5 forms. Generally, the <input>.element displays in many ways depending upon the value assigned to the type attribute.
We’ll cover input types in a bit more detail in the next chapter.
Text Field
The <input type=” text”> displays a single-line input field for an input field.
Example
<!DOCTYPE html>
<html>
<head>
<title> HTML5 Forms </title>
</head>
<body>
<form>
<label for="fname"> <strong>Full Name</strong> </label> <br>
<input type="text" id="fname" name="fname" value="Vinay"> <br>
<br>
<label for="email"><strong>Email Address</strong></label> <br>
<input type="text" id="email" name="email" value="[email protected]"> <br>
</form>
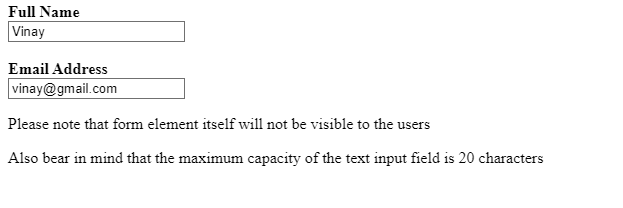
<p>Please note that form element itself will not be visible to the users</p>
<p> Also bear in mind that the maximum capacity of the text input field is 20 characters</p>
</body>
</html>
It is how the <form> element will be displayed in the browser.
The <label> Element
As seen in the previous code snippets, <label> element defines labels for many form elements.
The <label> element is defined for those viewers who are using screen readers, so the screen will loudly read the label when your viewer focuses on an input element.
The <label> element is also very useful for those viewers who might have difficulty clicking on small regions like radio buttons or checkboxes. When your webpage viewer clicks on the text enclosed between the <label> element, he will be automatically directed to the radio button/checkboxes.
The ‘for’ attribute of the <label> element must match with the ‘name’ attribute of the <input> element to relate them to each other.
Radio Buttons
The <input type=” radio”> displays a radio button on your webpage. The radio button allows the user to select only one option from the list of available choices.
Example
<!DOCTYPE html>
<html>
<head>
    <title> HTML5 Forms </title>
</head>
<body>
    <h1>Radio Buttons </h1>
    <p> Choose your favourite Javasciprt framework </p>
    <form>
        <input type="radio" id="React" name="fav_framework" value="React">
        <label for="React"> <strong>React</strong> </label> <br>
        <input type="radio" id="Angular" name="fav_framework" value="Angulat">
        <label for="Angular"> <strong>Angular</strong> </label><br>
        <input type="radio" id="VueJs" name="fav_framework" value="VueJs">
        <label for="VueJs"> <strong>VueJs</strong> </label>
    </form>
</body>
</html>
It is how the radio button will appear in the browser.

Checkboxes
The <input type=”checkbox”> displays a checkbox in the webpage. Checkboxes allow the users to select more than one option from the list of available choices.
Example
<!DOCTYPE html>
<html>
<head>
<title> HTML5 Forms </title>
</head>
<body>
<h1>Checkboxes </h1>
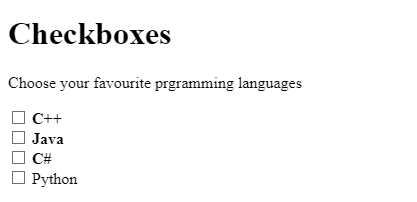
<p> Choose your favourite prgramming languages </p>
<form>
<input type="checkbox" id="C++" name="fav_language" value="C++">
<label for="C++"> <strong>C++</strong> </label> <br>
<input type="checkbox" id="Java" name="fav_language" value="Java">
<label for="Java"> <strong>Java</strong> </label><br>
<input type="checkbox" id="C#" name="fav_language" value="C#">
<label for="C#"> <strong>C#</strong> </label><br>
<input type="checkbox" id="Python" name="fav_language" value="Python">
<label for="Python">Python</label>
</form>
</body>
</html>
It is how the checkboxes will appear in the browser.
Submit Button
The <input type=” submit”> element will submit a form to the form handler. The form handler is a file that resides on a server that contains the script for processing the form input data.
To specify the form handler, we need to assign the name of the form handler to the form action attribute.
Example
<!DOCTYPE html>
<html>
<head>
<title> HTML5 Forms </title>
</head>
<body>
<h1>Form handler </h1>
<form action="action.php">
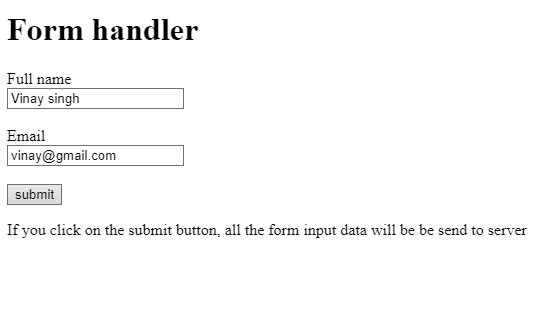
<label for="fname"> Full name</label> <br>
<input type="text" name="fname" id="fname" value="Vinay singh"> <br>
<br>
<label for="email">Email</label> <br>
<input type="text" name="email" id="email" value="[email protected]"> <br>
<br>
<input type="submit" value="submit">
</form>
<p>If you click on the submit button, all the form input data will be be send to server</p>
</body>
</html>
Here is how the form submit button will appear in the browser.
The Name Attribute for <input> Element
It is imperative to know that every input field must contain a name attribute. If you forget to include the ‘name’ attribute while defining the input field, the server cannot receive the input field value for processing.
To learn more about the forms, visit its documentation.