HTML5 Form Input Types
HTML5 Form Input Types
In this tutorial, we’ll teach you different HTML5 form input types used in input fields. If we forget to assign the value to the types attribute, the default value will be ‘text.’
Input Type Text
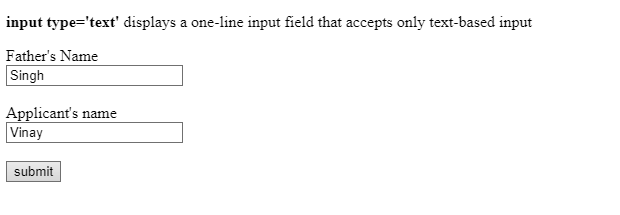
The <input type=” text”> displays a single-line input field that accepts only text values.
Example
<!DOCTYPE html>
<html>
<head>
    <title> HTML5 Form input types </title>
</head>
<body>
    <p> <strong> input type='text'</strong> displays a one-line input field that accepts only text-based input </p>
    <form>
        <label for="fname"> Father's Name</label> <br>
        <input type="text" name="fname" id="fname" value="Singh"> <br>
        <br>
        <label for="aname">Applicant's name</label> <br>
        <input type="text" name="aname" id="aname" value="Vinay"> <br>
        <br>
        <input type="submit" value="submit">
    </form>
</body>
</html>
Here is how the text input field will display in the browser.
Input Type Password
The <input type=” password”> displays an input field that can accept passwords.
Example
<!DOCTYPE html>
<html>
<head>
    <title> HTML5 Form input types </title>
</head>
<body>
    <p> <strong> input type='password'</strong> displays a one-line input field thatcan accept password </p>
    <form>
        <label for="uname"> <strong>User's Name:</strong> </label> <br>
        <input type="text" name="uname" id="uname"> <br>
        <br>
        <label for="pswd"> <strong>Password:</strong> </label> <br>
        <input type="password" name="psed" id="psed"> <br>
        <br>
        <input type="submit" value="Submit">
    </form>
</body>
</html>
The is how the password-based text input field will display in the browser.
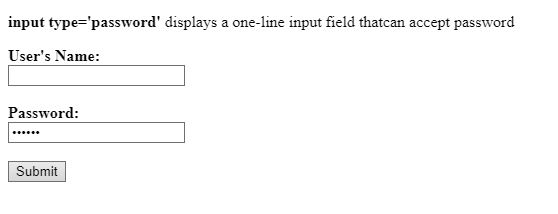
The characters in the password field are always masked.
Input Type Submit
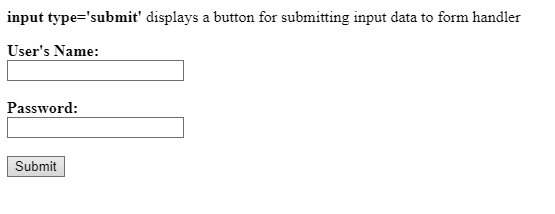
The <input type=” submit”> displays a submit button that sends form input data to the form-handler. A form handler is a server page that contains the script for authenticating and validating form input data.
Example
<!DOCTYPE html>
<html>
<head>
    <title> HTML5 Form input types </title>
</head>
<body>
    <p> <strong> input type='password'</strong> displays a button for submitting input data to form handler </p>
    <form>
        <label for="uname"> <strong>User's Name:</strong> </label> <br>
        <input type="text" name="uname" id="uname"> <br>
        <br>
        <label for="pswd"> <strong>Password:</strong> </label> <br>
        <input type="password" name="psed" id="psed"> <br>
        <br>
        <input type="submit" value="Submit">
    </form>
</body>
</html>
It is how the HTML5 form input type submits will display in the browser.
Input Type Reset
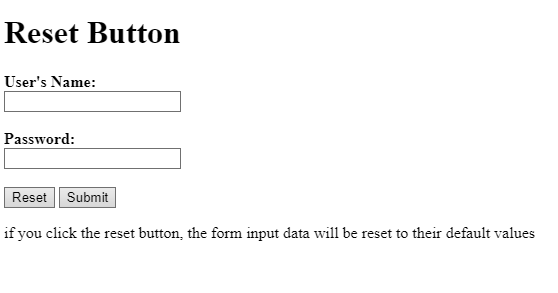
The <input type=” reset”> displays a reset button in the browser that resets all the form input values to their default values.
Example
<!DOCTYPE html>
<html>
<head>
    <title> HTML5 Form input types </title>
</head>
<body>
    <h1>Reset Button</h1>
    <form>
        <label for="uname"> <strong>User's Name:</strong> </label> <br>
        <input type="text" name="uname" id="uname"> <br>
        <br>
        <label for="pswd"> <strong>Password:</strong> </label> <br>
        <input type="password" name="psed" id="psed"> <br>
        <br>
        <input type="reset">
        <input type="submit" value="Submit">
    </form>
    <p>if you click the reset button, the form input data will be reset to their default values</p>
</body>
</html>
It is how the reset button will display in the browser.
Input Type Color
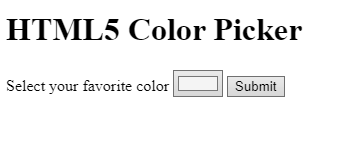
The <input type=” color”> displays an input field in the browser that can accept color input. Only a few browsers support the color picker input field.
Example
<!DOCTYPE html>
<html>
<head>
    <title> HTML5 Form input types </title>
</head>
<body>
    <h1>HTML5 Color Picker</h1>
    <form>
        <label for="color">Select your favorite color</label>
        <input type="color" id="color" name="favcolor" value="#f4f4f4">
        <input type="submit" value="Submit">
    </form>
</body>
</html>
It is how the color picker will display in the browser.
Input Type Date
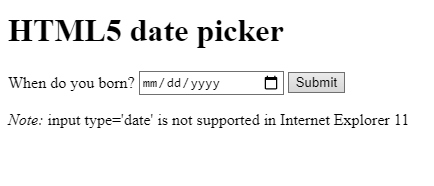
The <input type=” date”> displays an input field that can accept data. Only a few browsers accept date picker input types.
Example
<!DOCTYPE html>
<html>
<head>
    <title> HTML5 Form input types </title>
</head>
<body>
    <h1>HTML5 date picker</h1>
    <form>
        <label for="birthday">When do you born?</label>
        <input type="date" id="birthday" name="birthday">
        <input type="submit" value="Submit">
    </form>
    <p> <i>Note:</i> input type='date' is not supported in Internet Explorer 11 </p>
</body>
</html>
It is how the HTML input type date displays in the browser.
Input Type Email
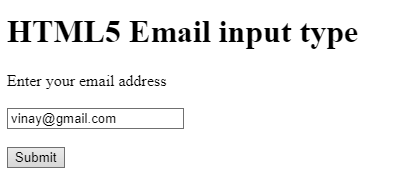
The <input type=” email”> displays an input field that can accept an email. Some smartphones have the by-default support for the email input type.
Example
<!DOCTYPE html>
<html>
<head>
    <title> HTML5 Form input types </title>
</head>
<body>
    <h1>HTML5 Email input type</h1>
    <form>
        <label for="email">Enter your email address</label> <br> <br>
        <input type="email" id="email" name="email" value="[email protected]"> <br> <br>
        <input type="submit" value="Submit">
    </form>
</body>
</html>
It is how the email input type will display in the browser.
Input Type File
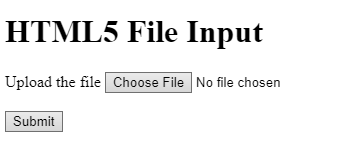
The <input type=” file”> displays a select file field that can accept the file as an input.
Example
<!DOCTYPE html>
<html>
<head>
    <title> HTML5 Form input types </title>
</head>
<body>
    <h1>HTML5 File Input</h1>
    <form>
        <label for="file1">Upload the file</label>
        <input type="file" id="file" name="file"> <br> <br>
        <input type="submit" value="Submit">
    </form>
</body>
</html>
The output of this code will be
Input Type Month
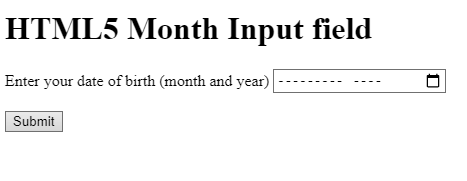
The <input type=” month”> displays an input field that accepts month and year as an input.
Example
<!DOCTYPE html>
<html>
<head>
    <title> HTML5 Form input types </title>
</head>
<body>
    <h1>HTML5 Month Input field</h1>
    <form>
        <label for="birthday"> Enter your date of birth (month and year) </label>
        <input type="month" id="birthday" name="birthday"> <br> <br>
        <input type="submit" value="Submit">
    </form>
</body>
</html>
The output of this code will be
Input Type Number
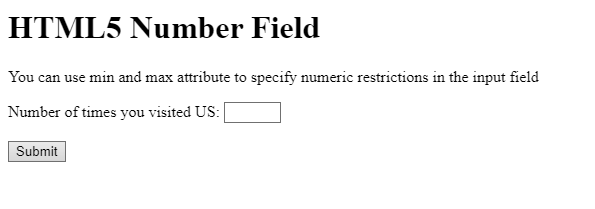
The <input type=” number”> displays an input field that accepts only numeric input. You can also define restrictions on the range of numbers.
Example
<!DOCTYPE html>
<html>
<head>
    <title> HTML5 Form input types </title>
</head>
<body>
    <h1>HTML5 Number Field</h1>
    <p> You can use min and max attribute to specify numeric restrictions in the input field</p>
    <form>
        <label for="quantity"> Number of times you visited US: </label>
        <input type="number" id="quantity" name="quantity" min="1" max="6"> <br> <br>
        <input type="submit" value="Submit">
    </form>
</body>
</html>
It is how the number input field will display in the browser.
Input Type Search
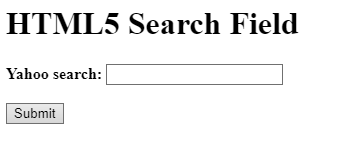
The <input type=” search”> displays a search field in the browser that acts as the regular text field.
Example
<!DOCTYPE html>
<html>
<head>
    <title> HTML5 Form input types </title>
</head>
<body>
    <h1>HTML5 Search Field</h1>
    <form>
        <label for="ysearch"> <strong>Yahoo search:</strong> </label>
        <input type="search" id="ysearch" name="ysearch"> <br> <br>
        <input type="submit" value="Submit">
    </form>
</body>
</html>
It is how the HTML5 search field will display in the browser.
Input Type Time
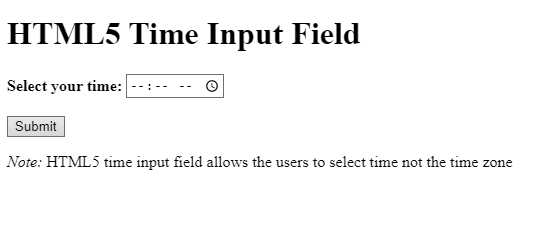
The <input type=” time”> displays an input field that allows users to select a time.
Example
<!DOCTYPE html>
<html>
<head>
</head>
<body>
    <h1>HTML5 Time Input Field</h1>
    <form>
        <label for="preferredtime"> <strong>Select your time:</strong> </label>
        <input type="time" id="preferredtime" name="preferredtime"> <br> <br>
        <input type="submit" value="Submit">
    </form>
    <p> <i>Note:</i> HTML5 time input field allows the users to select time not the time zone </p>
</body>
</html>
The output of this code will be
Input Type URL
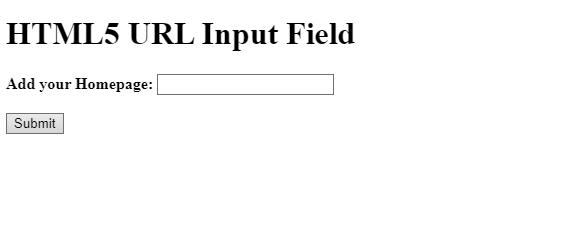
The <input type=”url”> displays an input field that accepts the URL address.
Example
<!DOCTYPE html>
<html>
<head>
</head>
<body>
    <h1>HTML5 URL Input Field</h1>
    <form>
        <label for="URLAddress"> <strong>Add your Homepage:</strong> </label>
        <input type="url" id="URLAddress" name="URLAddress"> <br> <br>
        <input type="submit" value="Submit">
    </form>
</body>
</html>
The output of this code will be
Input Type Week
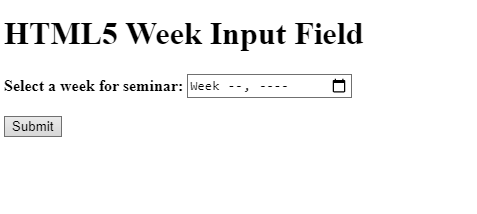
The <input type=” week”> allows the users to select week and year.
Example
<!DOCTYPE html>
<html>
<head>
</head>
<body>
    <h1>HTML5 Week Input Field</h1>
    <form>
        <label for="s_week"> <strong>Select a week for seminar:</strong> </label>
        <input type="week" id="s_week" name="s_week"> <br> <br>
        <input type="submit" value="Submit">
    </form>
</body>
</html>
The output of this code will be
To widen your understanding, learn more about input types.


